Creating a private server on Roblox is an opportunity to explore the world of customised gameplay and development, not just a place for you and your buddies to hang out. This in-depth tutorial will take you step-by-step through the thrilling process of creating your own Roblox private server, an experience that combines control, creativity, and community.
What Are Private Servers?
Private servers, sometimes referred to as VIP servers, are similar to having your own personal playground or lab in the Roblox universe. Exclusive game servers are made by the creator of the game and are intended to offer a secret area that only players who have been invited can access. Because of their exclusivity, they may be used for a wide range of activities, including as holding special events, testing new game features, and playing with friends in a safe setting.
Benefits of Private Servers
- Controlled Environment: Without outside distractions, private servers offer developers a safe haven in which to explore and test new ideas. They guarantee a steady and dependable atmosphere, devoid of the fluctuations and disorder frequently observed in shared servers.
- Exclusive Access: You can choose your audience by hand when using a private server, providing a specialised and regulated experience. When holding special events or exclusive gaming sessions, where only those you directly invite can enter, this exclusivity is ideal.
- Customizable Settings: Being the owner of a private server gives you the authority to control your domain and change the game settings whenever you like. With this degree of personalization, you may create a gaming experience that precisely suits your tastes and artistic vision.
Setting Up Your Private Server
Setting up your own private server is an exciting first step into the realm of customised digital creation and administration. This is an experience that gives you the ability to design and administer your own game space, but it also gives you the chance to learn about the complexities of community development and server administration. Building a private server lets you express your creativity and customise the game experience to your own preferences, regardless of your level of experience as a developer.
- Joining the Roblox Community
You must first become a member of the Roblox world. This entails signing up for the Roblox Developer programme and maintaining an active Roblox account. This programme is a goldmine of tools and materials necessary for game development on the platform, not merely a means of setting up private servers.
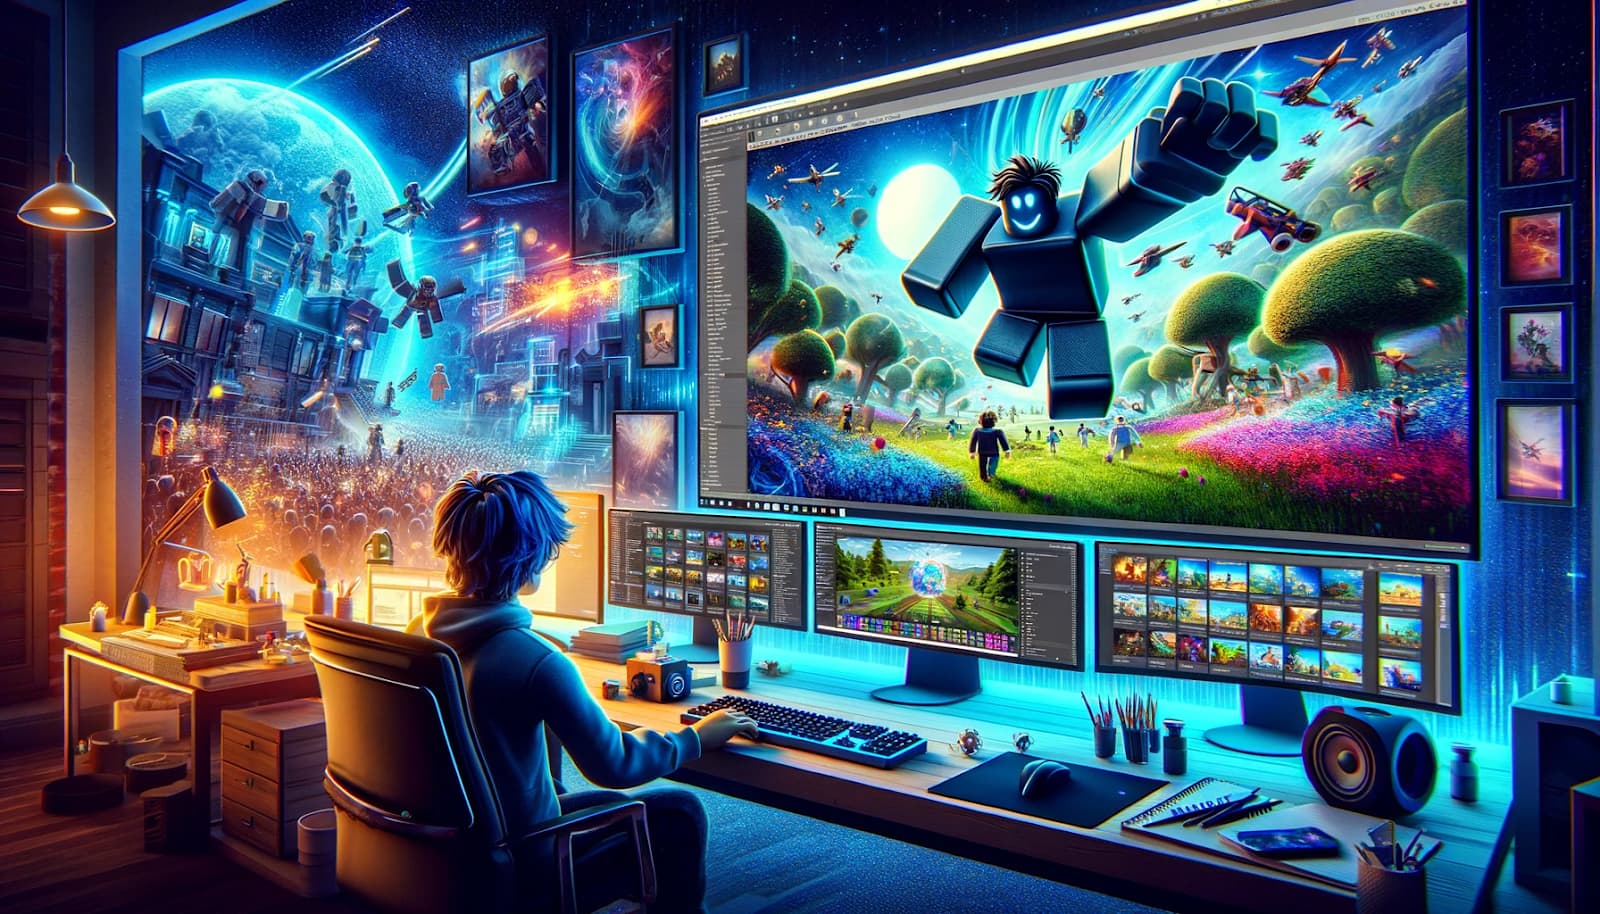
- Making Your Own Game
The game is the main component of your private server. The platform’s built-in development environment, Roblox Studio, allows you to create new games from scratch or edit ones that already exist. As you establish the framework for the experiences you wish to provide on your private server, this is the phase where your creativity truly comes to life.
- Turning on Private Servers
- Get Roblox Studio open, then open the game.
- Navigate to the ‘Private Servers’ area of the game settings.
- You can choose to enable private servers here. Setting an access price is another option that you have.
- Setting Up Server Configuration
Here’s where you set your domain’s rules. You have control over who may access your virtual world, how long your server is up, and how many gamers can join at a time. These configuration options are vital because they establish the exclusive features and working dynamics of your server.
- Getting Your Game Published
Now that you’ve carefully configured your server and game, it’s time to publish it. This phase allows the Roblox community to play your game. Before going live, it’s crucial to make sure that every feature works as planned.
Managing Your Private Server
Effective management of your private server is essential to guaranteeing a seamless and pleasurable experience for each and every guest. Here’s a thorough examination of the key elements of server management:
- Players Are Invited
- Sending Out Invitations: You have a special server connection that you can provide prospective gamers as the server owner. Your main resource for inviting others to join your private server is this link.
- Guest List Management: You may control who has access to your server by adjusting the server parameters. This gives you total control over the number of participants on your server, including the ability to add or remove them.
- Observation and Control
- Alert Monitoring: It’s critical to keep an eye on your server on a regular basis. This include watching out for technical problems, including bugs or outages, and making sure player conduct complies with your server’s policies and guidelines.
- Creating Rules: It’s critical to establish precise, unambiguous rules and regulations for player conduct. To preserve a polite and joyful atmosphere for all participants, these guidelines ought to be explained to each and every one of them.
- Maintenance and Updating
- Frequent Updates: It’s critical to maintain your server updated with the newest game features and fixes in order to deliver the greatest possible experience. This guarantees that your server will always work with the game and provide the most recent updates and enhancements.
- Performance Checks and Feedback: Regular performance checks are essential to the seamless running of your server. Furthermore, compiling and analysing player comments might provide insightful information about possible adjustments or enhancements that could improve the entire server experience.
Tips for a Successful Private Server
- Participate in Your Community: A server’s community is its lifeblood. Make your gamers feel included in the adventure by interacting with them and soliciting their opinions.
- Promote Your Server: Use community forums, social media, and Roblox groups to get the word out about your server. More is always better!
- Keep Up: Roblox’s universe is always changing. Keep up with platform changes and modify your server to take advantage of additional capabilities and enhancements.
Conclusion
Setting up a private server on Roblox is an adventure that takes players into the domains of digital craftsmanship, community building, and creativity. It’s more than simply a game. This tutorial provides step-by-step instructions for creating a profitable private server that will stand out in the Roblox community and provide its selected players with an unforgettable experience. Recall that creativity, involvement, and a dedication to ongoing improvement are the key components. Now go ahead and let your imagination run wild as you create your own little corner of the Roblox universe!